
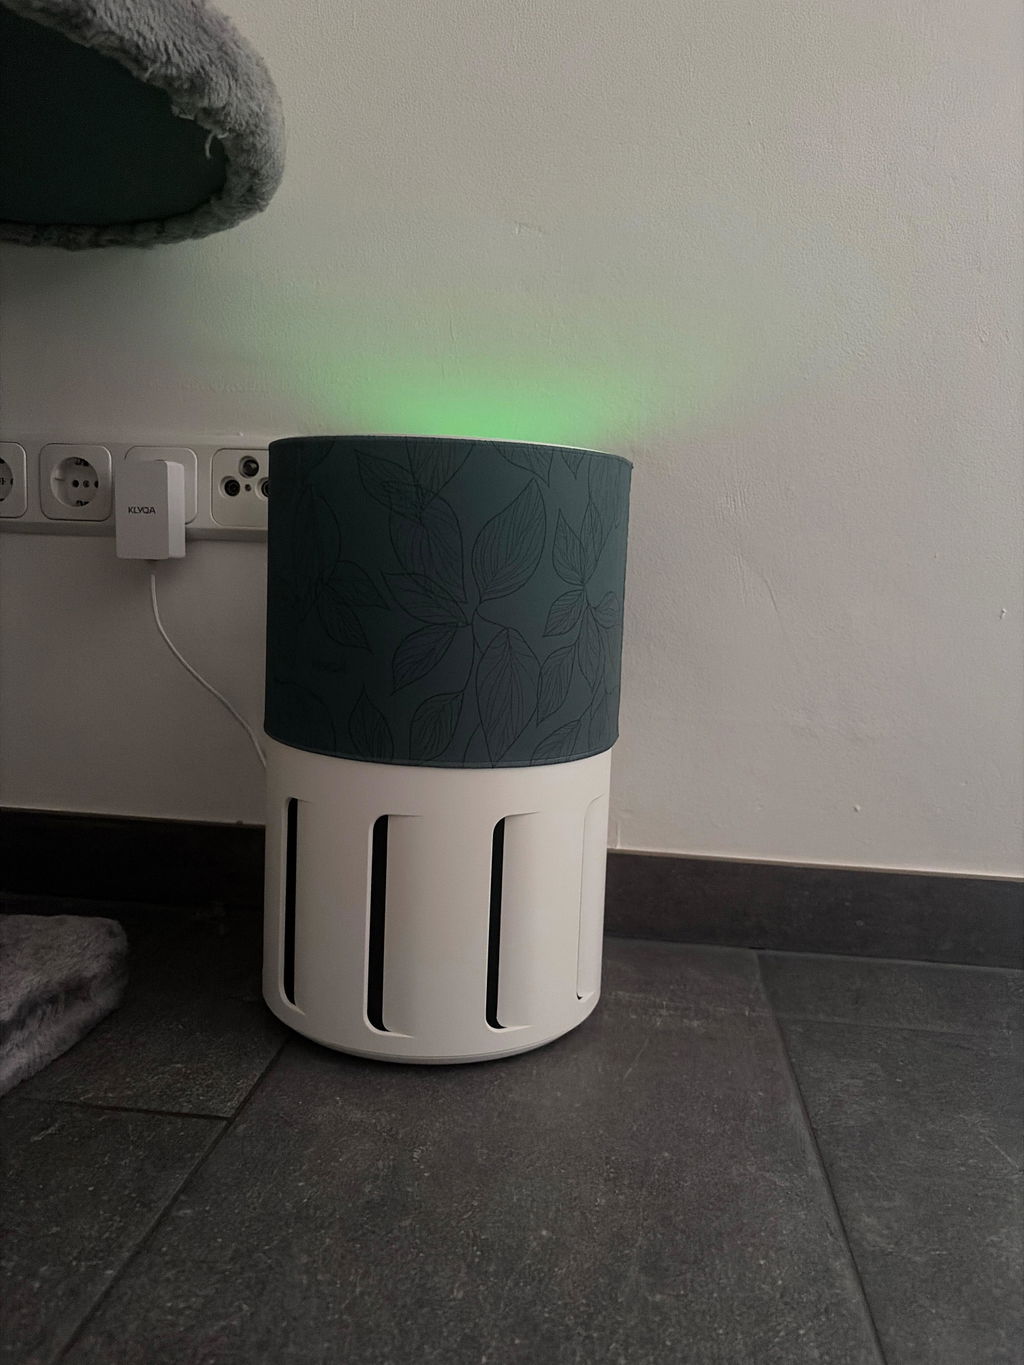
Ich bin mit dem Klyqa Air Klyna S rundum zufrieden. Besonders gefällt mir das moderne Design mit dem Stoffbezug – dadurch wirkt er deutlich wohnlicher als die typischen weißen oder schwarzen Luftreiniger.
Die App funktioniert einwandfrei. Mein absolutes Highlight ist der Nachtmodus: Einfach in der App auf den Mond tippen und schon arbeitet der Luftreiniger angenehm leise. Gleichzeitig wird die Beleuchtung komplett ausgeschaltet, sodass beim Schlafen nichts stört.
Auch die automatische Anpassung an die Luftqualität funktioniert zuverlässig. Wenn sich die Luftqualität verschlechtert, regelt das Gerät selbstständig hoch und anschließend wieder herunter.
Als Katzenhalter merke ich außerdem, dass der Luftreiniger Tierhaare sehr gut aus der Luft filtert. Insgesamt fühlt sich die Luft in der Wohnung einfach frischer an.
Von mir gibt es eine klare Kaufempfehlung.
Ich bin mit dem Welly Trinkbrunnen wirklich sehr zufrieden. Besonders gefällt mir, dass Frisch- und Schmutzwasser getrennt sind. Der Aufbau war unkompliziert und alle Einstellungen lassen sich leicht vornehmen.
Mir gefällt außerdem, dass man den Betrieb individuell einstellen kann – entweder läuft der Brunnen dauerhaft oder nur, wenn sich eine Katze nähert. Ich nutze die zweite Variante. Dabei leuchtet kurz ein Licht auf und der Brunnen startet. Im Nachtmodus bleibt das Licht ausgeschaltet, was ich als lichtempfindliche Person sehr angenehm finde.
Insgesamt ist der Trinkbrunnen sehr leise. Auch wenn er dauerhaft läuft, empfinde ich ihn nicht als störend, da das Wasser nicht ständig laut plätschert wie bei vielen anderen Trinkbrunnen. Die Reinigung ist einfach, der Filter macht einen hochwertigen Eindruck und meine Katzen haben den Trinkbrunnen sofort angenommen. Ich würde ihn jederzeit wieder kaufen.
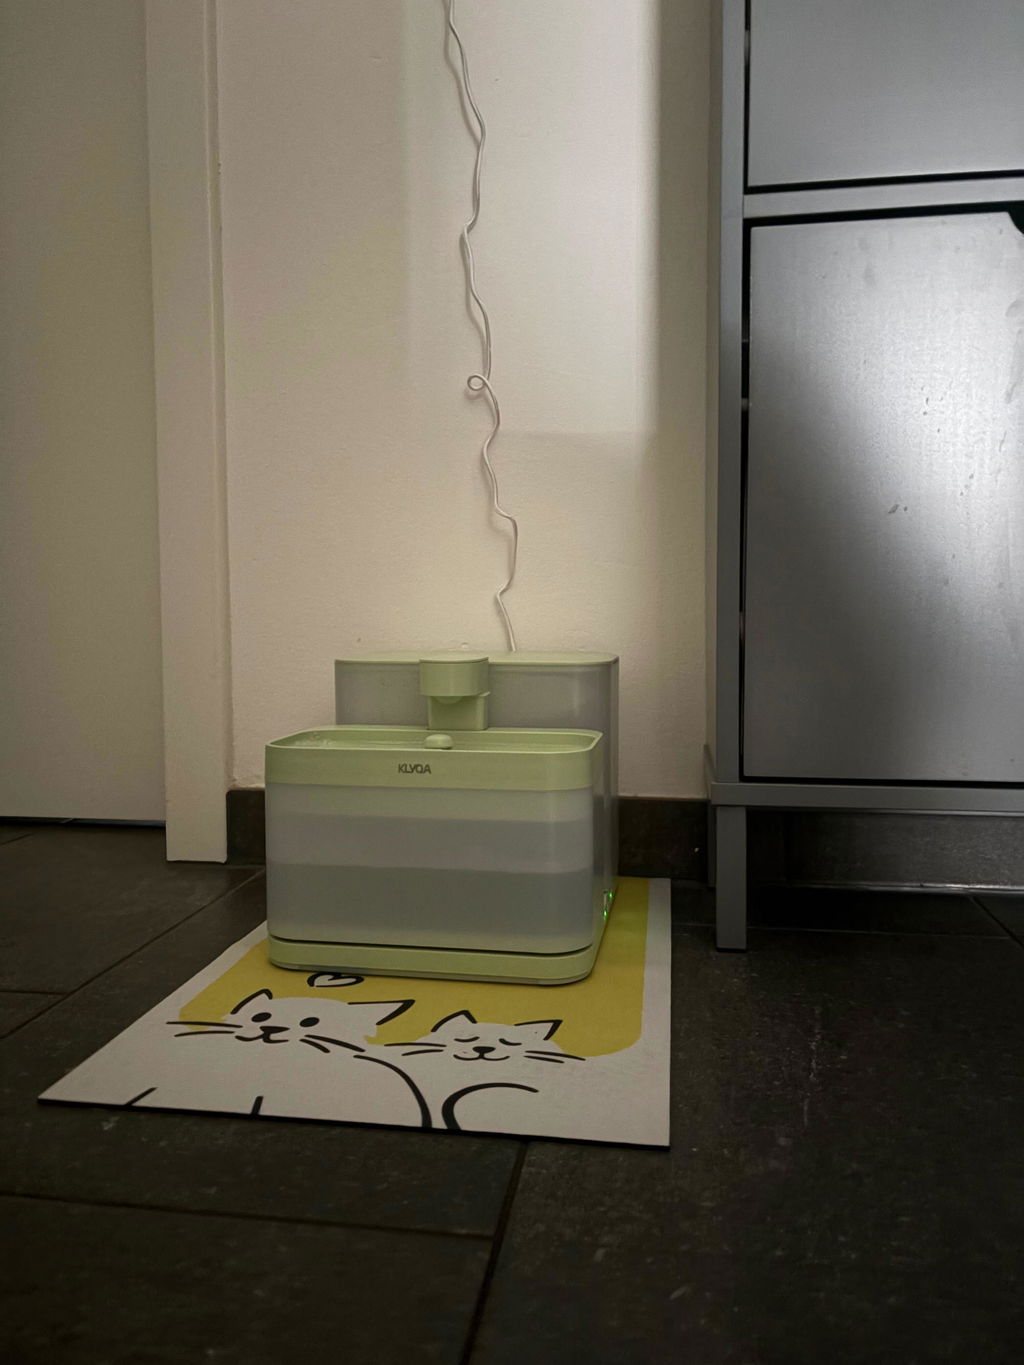
Wirdvon unseren Katzen super angenommen, täglich automatisches Spülen, seperater Schmutzwassertank